First off: I would like to welcome my 32nd follower, Ryan Adair, who blogs
here.
Now let's get down to business. First off, I did this project last month and thought that I already wrote a post about it, but it appears that I forgot to write the post. One of my goals is to face my fear of my sewing machine. You see, I have had some experiences with sewing, though not many. Most of them involve a sewing and a quilting class which I took in middle school. I managed to make a tote bag and a bajillion cross-stitches in the sewing class. And then came the quilting class. The quilting class is when I learned that sewing machines want to make my life as difficult as possible. Somehow I managed to complete a quilt. I still don't know how. Every single day, I had to combat the sewing machine and its crazy desire to unthread its needle, or just stop working altogether, or even worse stop working and make a loud annoying noise like it's commiting suicide whenever I pushed on the foot pedal. So somehow I made it through it. And recently I was like, "Oh hey, my mom was nice enough to buy me a sewing machine 5 or more years ago and I've never even used it." So then I started my first project, which was trying to make a shirt that I outgrew but loved the design too much to part with it, into something that I could still wear. And from that attempt, I learned that if you try to sew with really thin fabric, it will become mind-bogglingly entrapped in your feed dogs and your boyfriend will have to dismantle your sewing machine and remove it for you. Luckily I didn't ruin the shirt, since I was sewing on a scrap piece I had removed from it. And then the weather got cold and the shirt got neglected since it has short sleeves, so I wouldn't be wearing it anytime soon anyway. And then my sewing machine sat all alone and sad for a few months. And then I thought, I should make a pillow out of a T-shirt that I don't wear anymore. You see, I have a lot of guy T-shirts that have cool designs on them, but I have been making an effort to dress like an actual girl for about a year now, so they have been alone and sad and unworn. So I picked the shirt I used to love the most and decided to make it into a pillow. The reason behind my need for a pillow is that I like to sit on my bed to work during the day, so I prop a few pillows behind my back for comfort. One of the pillows I use for that purpose was sort of falling to pieces, so I wanted to replace it with something that looked nicer and wasn't falling apart. It was surprisingly easily and my sewing machine didn't try to kill itself or me, not even once. Keep in mind that while I have made a pillow once or twice before (Twice!), I have never been properly taught how. I have actually learned two things from the crack that is Pinterest since making this that would have been good to know, so I will pass that knowledge on to you. Lastly, before we begin, I would just like to say that if you are making this pillow to replace another one, you could just sew it over the top of the other pillow, or make a sort of removable pillow case so you can take it off and wash it, by using velcro or a zipper. The first option would make you have to handstitch an entire side, and the last option is probably not a good idea for beginners. If you're going to make this pillow, be sure to read through to the end before you start because I link how to handstitch the pillow shut when you're finishing it up.
 |
Step One: Wrap your T-shirt over your pillow to see what
size you want it to be, as well as where you want the design to be. |
 |
Step 2: Remember why you are making the pillow:
The other pillow's best days are behind it. |
 |
| Step 3: Look at the old pillow and have a moment of silence. |
 |
Step 4: Turn the shirt inside out and then pin the bottom of the shirt even with the
bottom of the pillow, leaving a small seam allowance, which you do not measure. |
 |
Step 5: Realize that you should have actually pinned a straight line along the top
instead, so now you have to cut across the top of the shirt to remove it from the pillow. |
 |
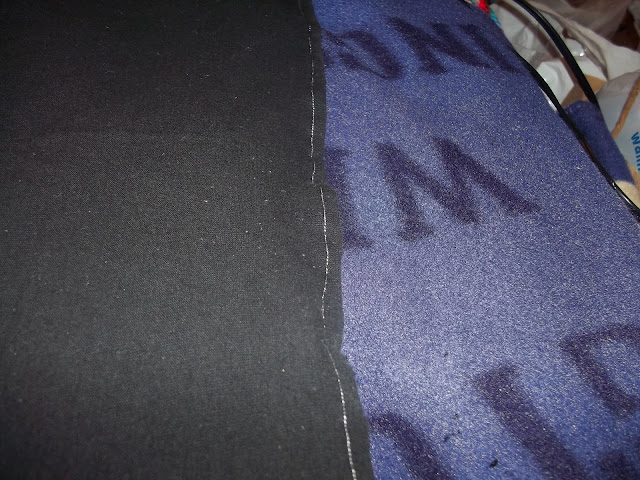
Step 6: Sew along the actual seam on your shirt because that is
easier than measuring and you don't have to remove pins as you go.
Sidenote: Isn't my sewing machine pretty? |
 |
| Step 7: Admire your pretty seam. |
 |
| Step 8: Remove pins. |
 |
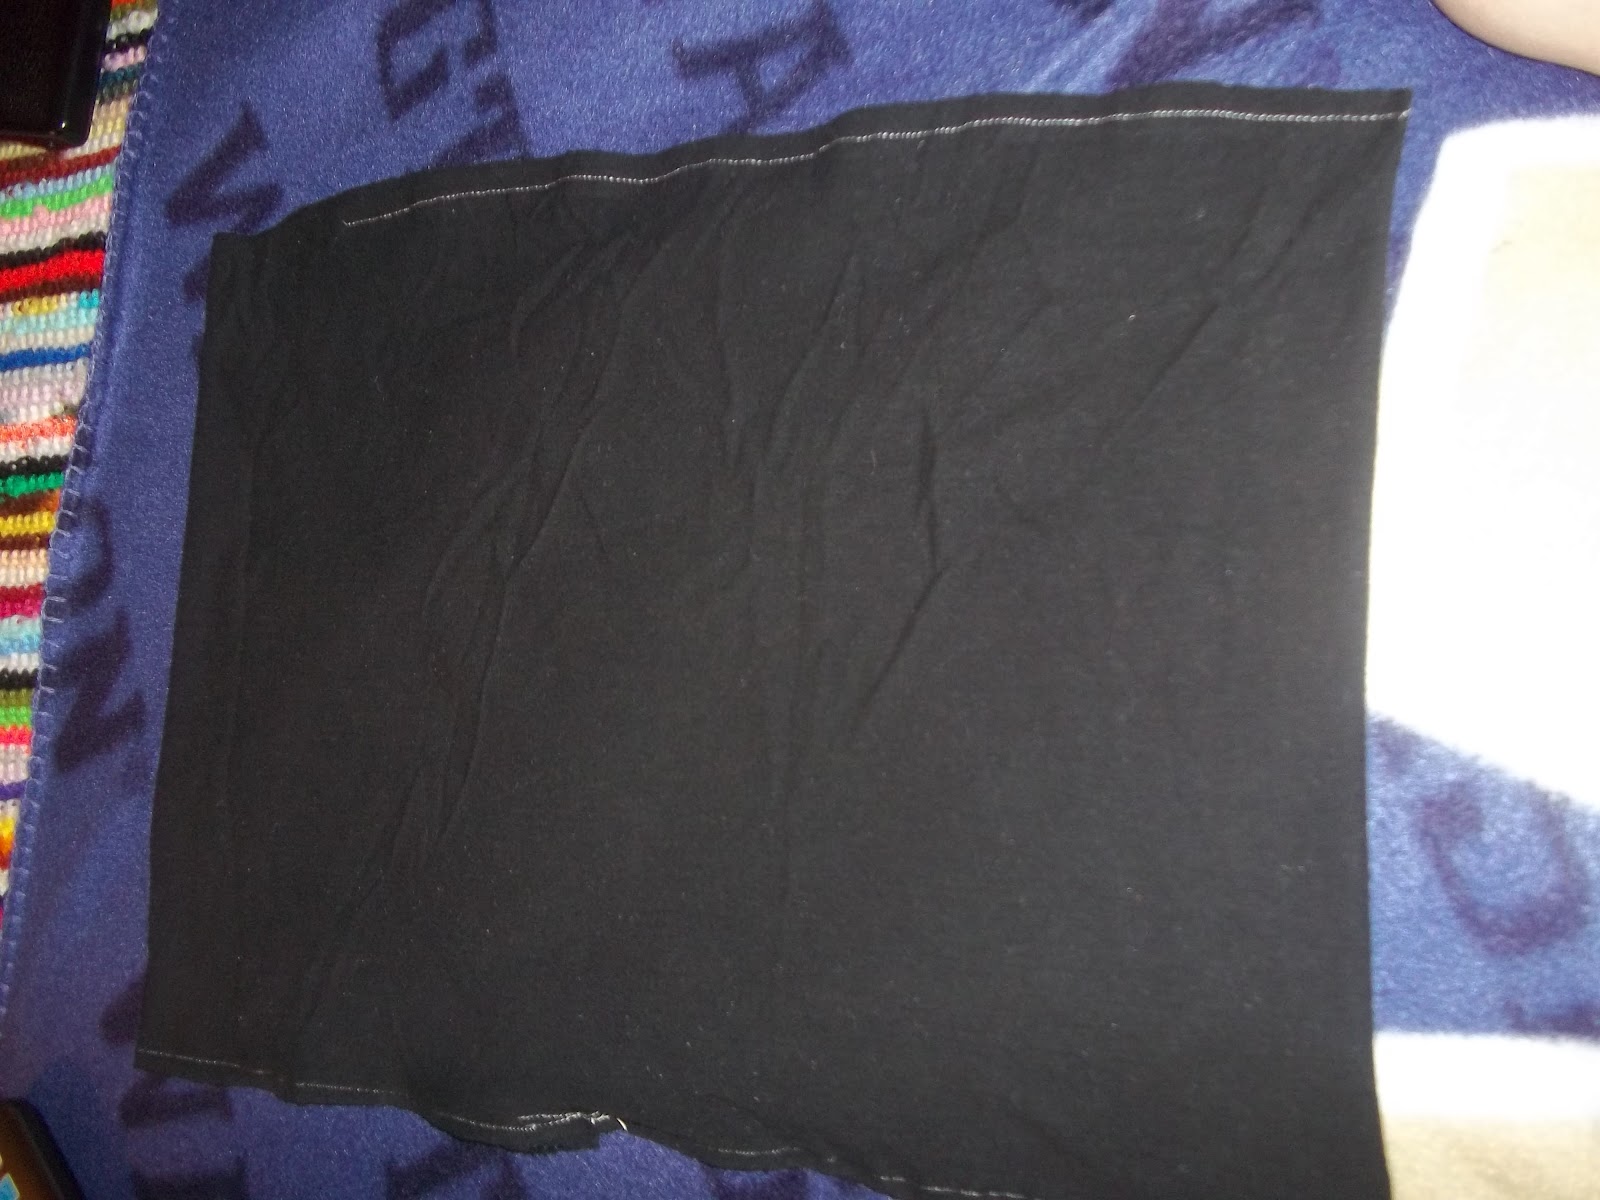
Step 9: Pin a straight line across the top portion of the shirt where it will make a square or rectangle. This
means that your line will probably be just below the sleeves if you are trying to get the biggest pillow possible. |
 |
Step 10: Sew along your line of pins but make sure you leave an opening to turn it right side out and then stuff it.
I probably should have left a bigger opening, but it worked with a smallish one. It was just more time-consuming. |
 |
| Step 11: Be surprised by how well this is going and admire your work. |
 |
| Step 12: Turn your shirt right side out through the opening you left at the top. |
 |
Step 13: If you are working with another pillow, remove its stuffing and then put it in your new pillow.
Otherwise, you should have bought some stuffing and then put that in your pillow. |
 |
| Step 14: Remove big handfuls of stuffing. |
 |
| Step 15: Struggle to put big handfuls of stuffing into the too small hole in your pillow. |
 |
| Step 16: Stuff until you're happy with it, then smooth out the lumps and handstitch the opening closed. |
 |
Step 17: Have some of your stitches still visible, but rather than take it out, google
"how to handstitch", and then redo it, decide that it's good enough. |
 |
| Step 18: Admire your work! You're all done : ) |
Sidenote: You should probably iron your shirt before you start, but I don't own an iron, so I didn't. Click here to learn
how to handstitch the pillow shut for Step 17. And that's it: now you can use your lovely new pillow. And if you did it the way I did, more or less, you can use the fabric from the dying pillow for something else later, because that's how I roll. I am frugal.


I made my ex a quilt out of our old band shirts.. I wish i would have taken it with me!
ReplyDeleteBut I hear ya, my sewing machine just sits there and taunts me. I need to get brave and just tackle the beast.
Also, thanks for the shout out :)
That quilt sounds really cool. Sewing machines can be such big bullies sometimes, but I found out that mine is actually very sweet if I just pay it some attention every now and then. No problem with the shout out. I do it for all my new followers, as long as I can figure out where they blog.
ReplyDeleteIt looks awesome! I tried making a quilt in my senior year of HS, I also incorporated knitted pieces that I made. Sewing is a lot harder than it looks, but with a spiffy sewing machine like yours it's probably not that bad. Cool, I want to try this!
ReplyDelete