Whether your motivation is being kind to the planet or just saving some money, finding ways to reduce, reuse, and recycle will help you to achieve your goal. Here are my favorite five ways to save both money and the planet. You can see the other 35+ on my
Reduce, Reuse, Recycle Pinterest board.
I found this one in a blog post about Holiday Decorating Tips, but it is useful year-round. Use a paper towel holder to store supplies such as tape (of the washi, Scotch, and duct variety), ribbon, trim, twine, lace, and more. This is especially helpful for those of us who have small spaces instead of a whole separate room for crafting.
For your thinner ribbons and trims, Tic Tac containers are a great storage solution. This recycling idea is originally from
Instructables, but I like the photos on the Craft and Creativity post about it much better. It's pretty self-explanatory. Just roll up your ribbons and trims and put them in empty Tic Tac containers. This will keep them from getting tangled together and make them easier to keep organized.
This is one of my favorite things. It is by Dutch designer Isabel Quiroga and I found it on
Apartment Therapy. You can make your own by either using old furniture that you no longer use, buying some inexpensive furniture from a thrift store, garage sale, or estate sale, or (if you're really lucky) finding it being given away for free by the sidewalk (usually in June and September in college towns, when students are most likely moving). As you collect your furniture treasures, clean them up (if necessary), then paint them all the same color, or contrasting colors, or whatever you feel like. Then stack them up however you would like. They can work as desks, dressers, shelves, and probably a lot more. The only limit is your creativity (well, and your ceiling height, I suppose)! I love how you can make it so unique and personalized to your own tastes.
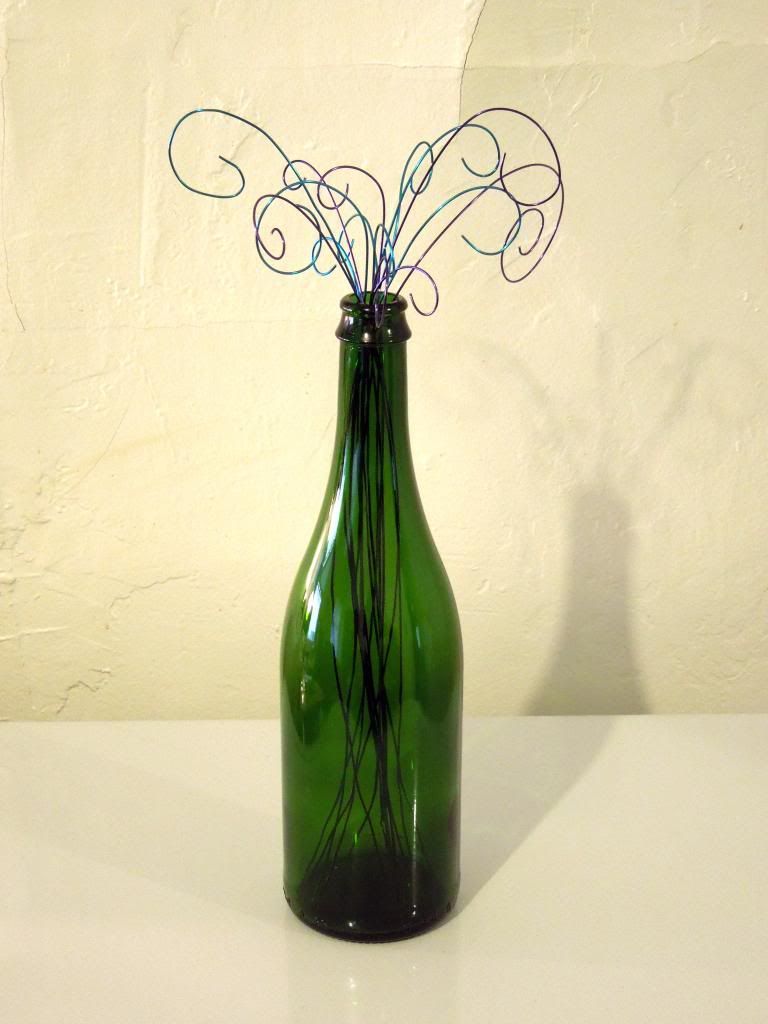
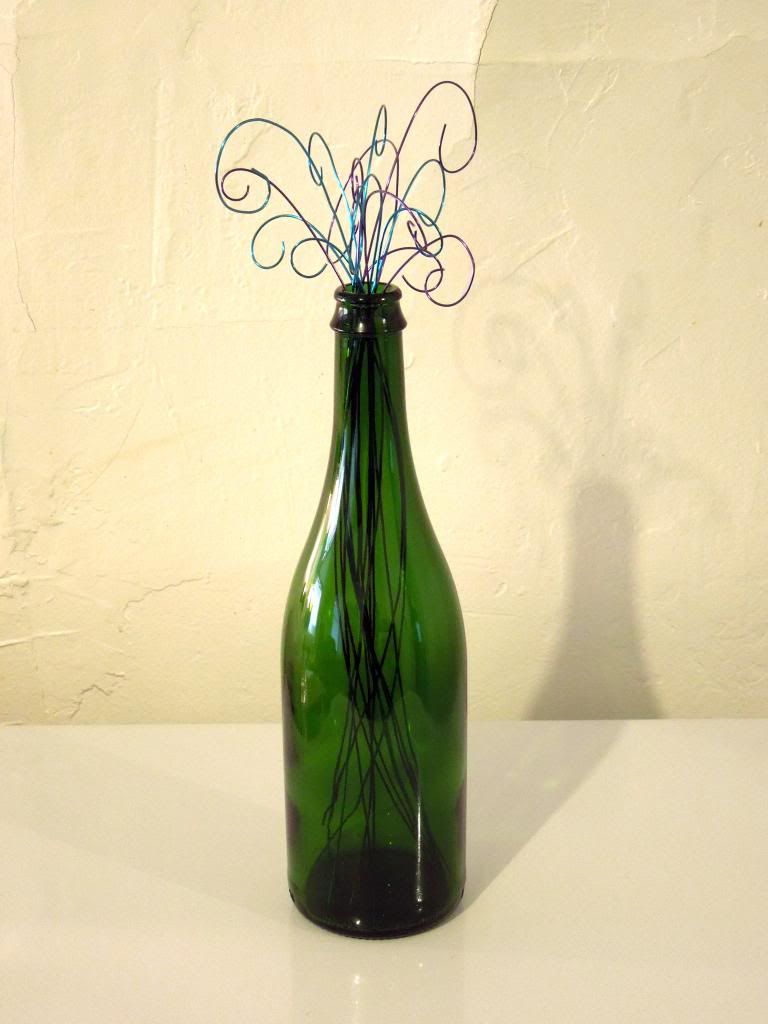
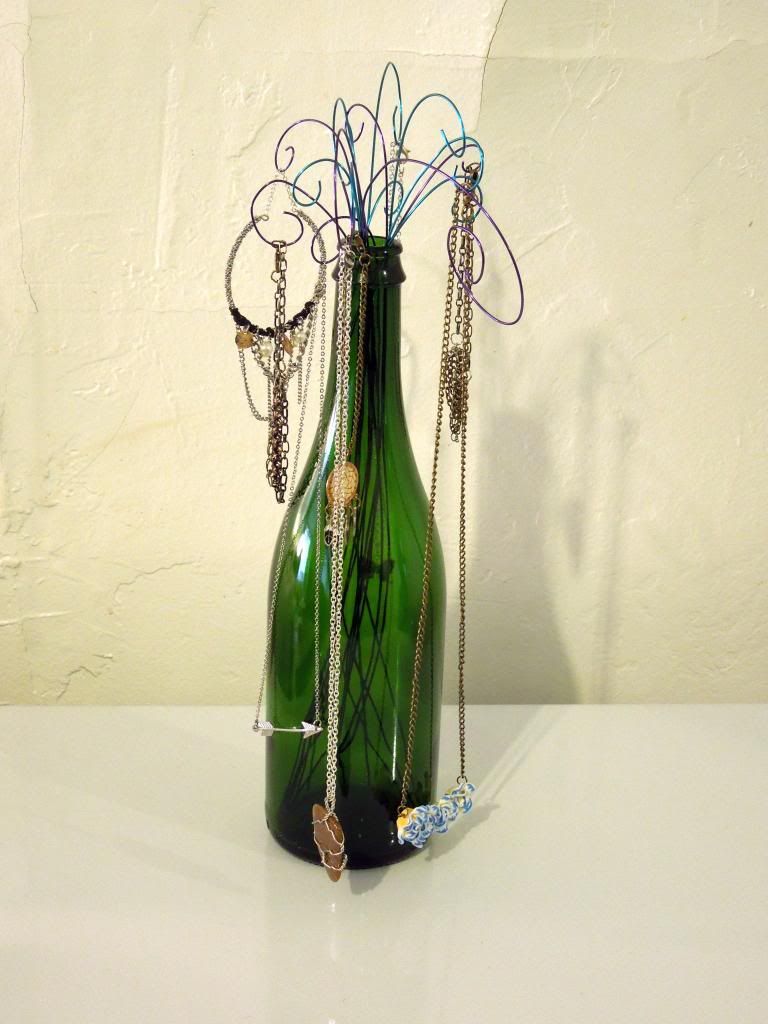
I like this one because as a jewelry maker, I constantly need more and more jewelry storage solutions. I have already bought all of the jewelry boxes at
my new favorite thrift store (true story), so I had to think outside the box. And in this case, outside the box meant inside the bottle. If you don't drink wine, like me, you can either get n empty wine bottle from a friend, use a sparkling cider bottle, or use something else, like a vase. To see how to make your own, check out
my post.
I am so in love with cute satchels right now. I don't have one of my own yet. For now I am content with browsing dozens of pictures of them on the web. I love this satchel redo on
Wrapped Up in Rainbows. She took a plain tan colored satchel and made it into the beauty you see in the photo above. You can do the same if you have a satchel, or any other bag made of the same material, lurking in your wardrobe somewhere. Maybe you don't use it anymore because it's so plain, but if you give it a makeover, it will be ready in time for Summer!
So whether you're into saving money or saving the planet (or both!), I urge you to try these DIYs ranging from super simple to rather time-consuming. And if you want more, be sure to check out
my Reduce, Reuse, Recycle Pinterest board. Right now there are 43 pins, including these 5, and I am always adding more. Have a great Earth Day. And if the weather where you are is anywhere near as nice as it is here in Seattle today, go enjoy the outdoors!


